Customizing Your Plate Carrier: How to Gear Up Like a Pro
Are you thinking about customizing your plate carrier? You're not the only one. Plate carriers are highly versatile pieces of equipment that can fit your specific needs and preferences.

While your exact setup will depend on personal requirements, there are certain guidelines you should always follow when selecting and arranging your body armor gear.
Customizing Your Plate Carrier

In the past, plate carrier setups have followed a trend of "Do it this way" only to later shift to "Never mind, do it that way." Military or police setups were often considered the standard, only to have those standards change over time.
However, there’s been a shift recently toward a more individualized approach. This has encouraged greater customization based on personal needs. While there are still a few unbreakable rules, what you attach to your plate carrier—and where you attach it—is largely up to you.
Above all else, the key rule is making sure your plate carrier fits properly.
Getting the Right Fit

Getting the right fit is necessary because it makes sure the body armor plates are in the perfect position. It should be in a position to stop a projectile from penetrating the most vital parts of your body -- the heart and lungs. In other words, fitting your plate carrier properly could be the difference between life and death.
Front and Back Plate
Once the body takes a hit, a timer starts. The time left before the injured person succumbs depends on the number and location of the impacts. The heart and lungs have the shortest timeframes to respond, second only to the brain and spine.

The front plate should sit just below the collarbone to protect key areas. This is about two fingers' width down and extends to the base of the rib cage. The rear plate should mirror this. It typically sits slightly higher with the top edge aligned with the shoulder blades.
A common mistake is wearing the front plate too low in an attempt to cover the stomach—don’t do that. The priority is to keep the heart well-protected, as it has very little time once hit.
Shoulder Straps and Cummerbund

A proper plate carrier setup keeps your plates secure without limiting your range of motion. You want to avoid having your plates, mags, and pouches bouncing around while you're running, climbing, moving through buildings, or diving for cover. This will tire you out quickly and can even lead to injury, especially when climbing.
Adjust the shoulder straps to set the proper height to make sure everything stays in place. Use the cummerbund to secure the fit and prevent plate movement. Here's a tip: while most of the carrier's weight rests on your shoulders, tightening the cummerbund slightly can help relieve shoulder pressure. In addition to providing extra storage and supporting side armor, it greatly improves comfort and mobility.
As a rule of thumb, keep loaded pouches as close to your body as possible. You’ve probably heard this a million times, but it’s necessary to maintain smooth movement and reduce fatigue.
Customizing Your Plate Carrier Loadout

The four main categories of gear are ammunition, medical supplies, admin tools, and mission-specific equipment. When selecting your gear, a tip is to prioritize lightweight options as long as you don’t sacrifice too much quality.
Minimalism has become highly valued in plate carrier setups. However, be careful not to cut out essential items. Keep your setup as light as possible and avoid unnecessary bulk. Make sure you don’t eliminate the gear you'll need in the field.
Ammunition Storage

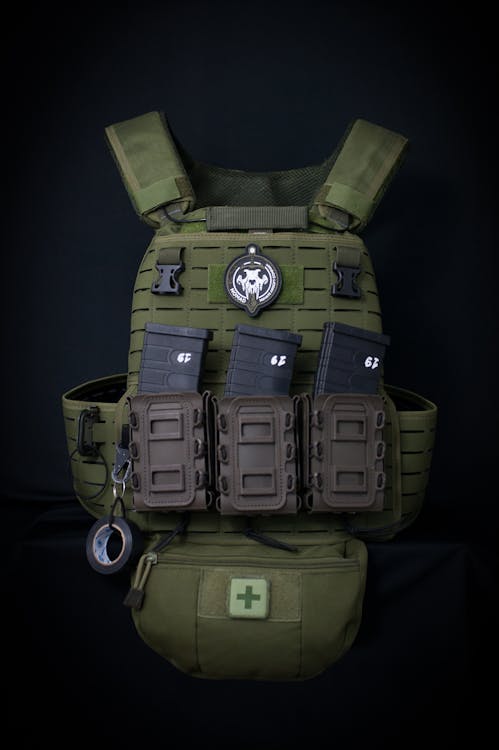
The modern standard for Tier 1 units like CAG and DEVGRU is three magazines across the front of the plate carrier. Avoid doubling up on magazines in the front, as it can cause serious issues when trying to lay prone behind a low cover.
In some cases, a speed mag or speed pouch is mounted on the cummerbund. This is typically on the non-dominant side. The setup highlights how plate carrier configurations have changed. Magazines that were once carried on the plate carrier are now often relocated to the belt. Reloading from the belt first has become the norm.
The speed pouch is constantly refreshed with fresh mags as they’re used. This promises the quickest mag is always ready for an emergency reload. Such a method allows for faster response times when every second counts.
Medical Equipment (IFAK Pouch, Tourniquets)
Tourniquets
The key thing about tourniquets (and medical pouches) is to position them so they’re accessible by both hands in case one hand is injured. This allows you to still use them if you sustain an injury to one arm.
Even if you’re wearing a duty belt, it’s important to have at least one tourniquet attached to your plate carrier. This is in case you don’t have time to put on the belt or if you lose it. To achieve this, many plate carriers are set up with "danglers" for easy access to key medical gear.
First Aid Kit

In some cases, you won’t have control over where to attach your IFAK. Usually, standard operating procedures (SOPs) will dictate its placement. However, if you do have flexibility, think about where you’ll need it in an emergency.
Make sure your IFAK is positioned where you can reach it with either hand. Someone else should be able to easily access it if they need to treat you. After attaching it, always test it to make certain it doesn’t interfere with drawing your firearm or accessing other essential gear.
Admin Pouches

An admin pouch is meant to carry essential items like maps, pens, protractors, a flashlight, a pocket knife, and other Everyday Carry (EDC) gear. These are all equipment you might need quickly and want to protect from damage in your bag.
Admin pouches typically come with straps for carrying. Sometimes, they also come with MOLLE attachments for securing them to your armor or vest. The method you choose, and what you store in the pouch, will depend on your specific needs. In any case, make sure the pouch is easily accessible. Position it in front of your chest for quick access.
Radios and Communication Equipment
Setting up radios on plate carriers has always been a challenge. Placing the radio on the front takes up valuable space that could be used for extra pouches or other gear. If you mount it on the back, you’re relying heavily on a teammate to help if the batteries die or another issue arises.
For a push-to-talk (PTT) setup, the best spot is generally the front non-dominant side of the plate carrier. The placement allows for easy access while keeping your trigger finger on your firearm. It presents quick communication without sacrificing readiness.
Mission-Specific Gear
The gear you carry will naturally vary from mission to mission. A key tip is to avoid having anything dangling from your belt or plate carrier that could snag or come loose at the worst moment. If there's anything that might shift or fall off, keep some bungee cords handy to secure it.
It's also worth reiterating the need to keep your setup as light as possible. The less weight on your shoulders and fewer items to adjust, the better your mobility and endurance will be.
Key Takeaways

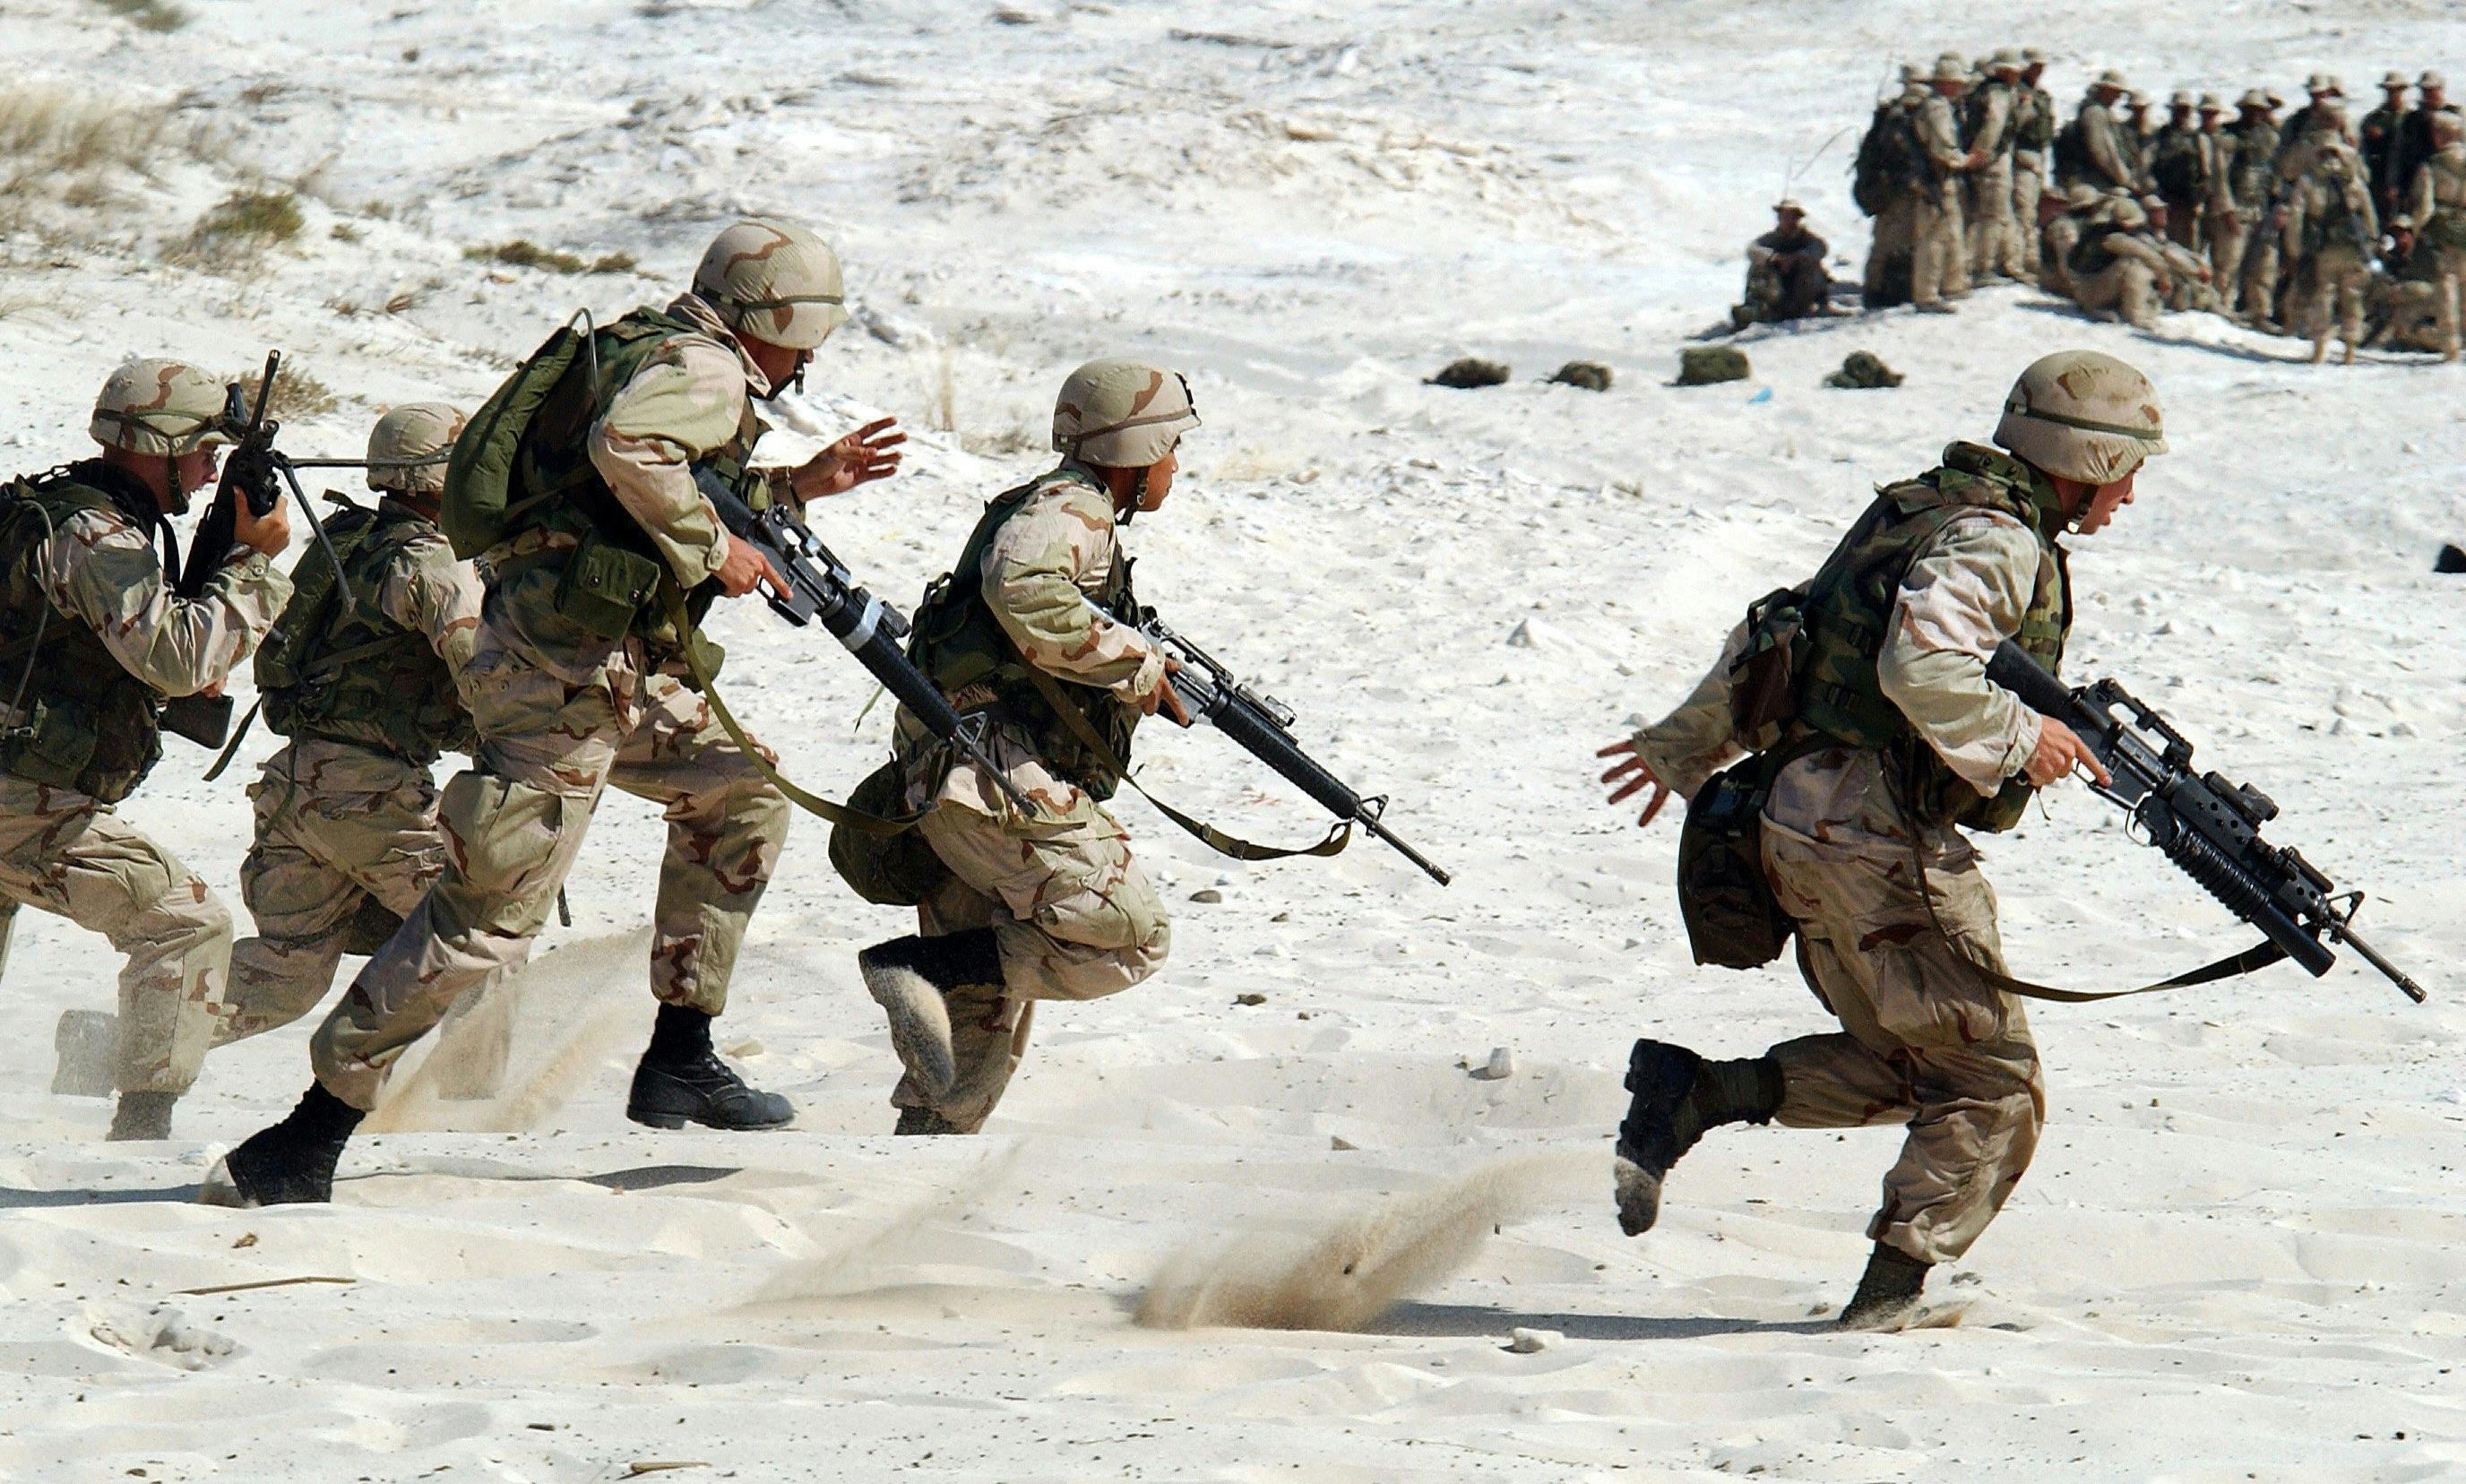
By Office of Public Affairs from Washinton DC - Operation Triple Beam San Antonio 2017-27, Public Domain, https://commons.wikimedia.org/w/index.php?curid=72321267
In the past, plate carrier setups were bound by rigid rules. Many individuals were restricted to following standard operating procedures (SOPs) when configuring their carriers. However, nowadays, there is greater flexibility for customization.
The ability to customize a plate carrier allows users to tailor it to their specific needs and preferences. This results in enhanced functionality and comfort.
When customizing a plate carrier, a proper fit is of utmost importance. The front plate should be positioned approximately two finger-widths below the collarbone to cover vital organs. Be sure to adjust the cummerbund to eliminate any jostling or bouncing during movement.
Additionally, careful placement of tourniquets and individual first aid kits (IFAKs) within reach of both hands is essential. For radio placement, it is advisable to choose a position that suits the mission requirements. The push-to-talk (PTT) button should be located on the non-dominant side of the plate carrier.
It is important to remember that the ideal plate carrier setup varies for each person and may differ for each mission. Customization allows for personalized adjustments based on individual preferences and requirements.
Always prioritize the proper fit of the carrier. It should conform well to your body, no matter the setup. Also, keep the load as light and convenient as possible to maintain mobility and prevent unnecessary fatigue.
Bulletproof Zone delivers top-quality tactical gear, including durable plate carriers designed for maximum protection and comfort. Trusted by professionals and civilians alike, our plate carriers are built to meet the highest safety standards. Explore our collection today and find the perfect plate carrier to fit your needs.
How do you customize your own plate carrier? Share your setup with us in the comments below!


